Dictionary
Lid

- Example:
-
Put a lid on the jar.
Pon una tapa al frasco.
- Spanish word:
-
Tapa
- Audio:

Put a lid on the jar.
Pon una tapa al frasco.
Tapa

Hi!
Now pay attention!
I’m going to show you the steps you may follow with your pair to make our vegetable garden.
 Hello!
 Pay attention!
 Follow the instructions:
Prepare your materials:
1: Cartoon lid.
2: Playdough, as many colours as you like.
3: OPTIONAL. Brown paint, maybe you have to create it, remember ‘red + green = brown’.

Paint the bottom of the lid. OPTIONAL.

Create and decorate the ground to sow.

Create your fruits and vegetables.
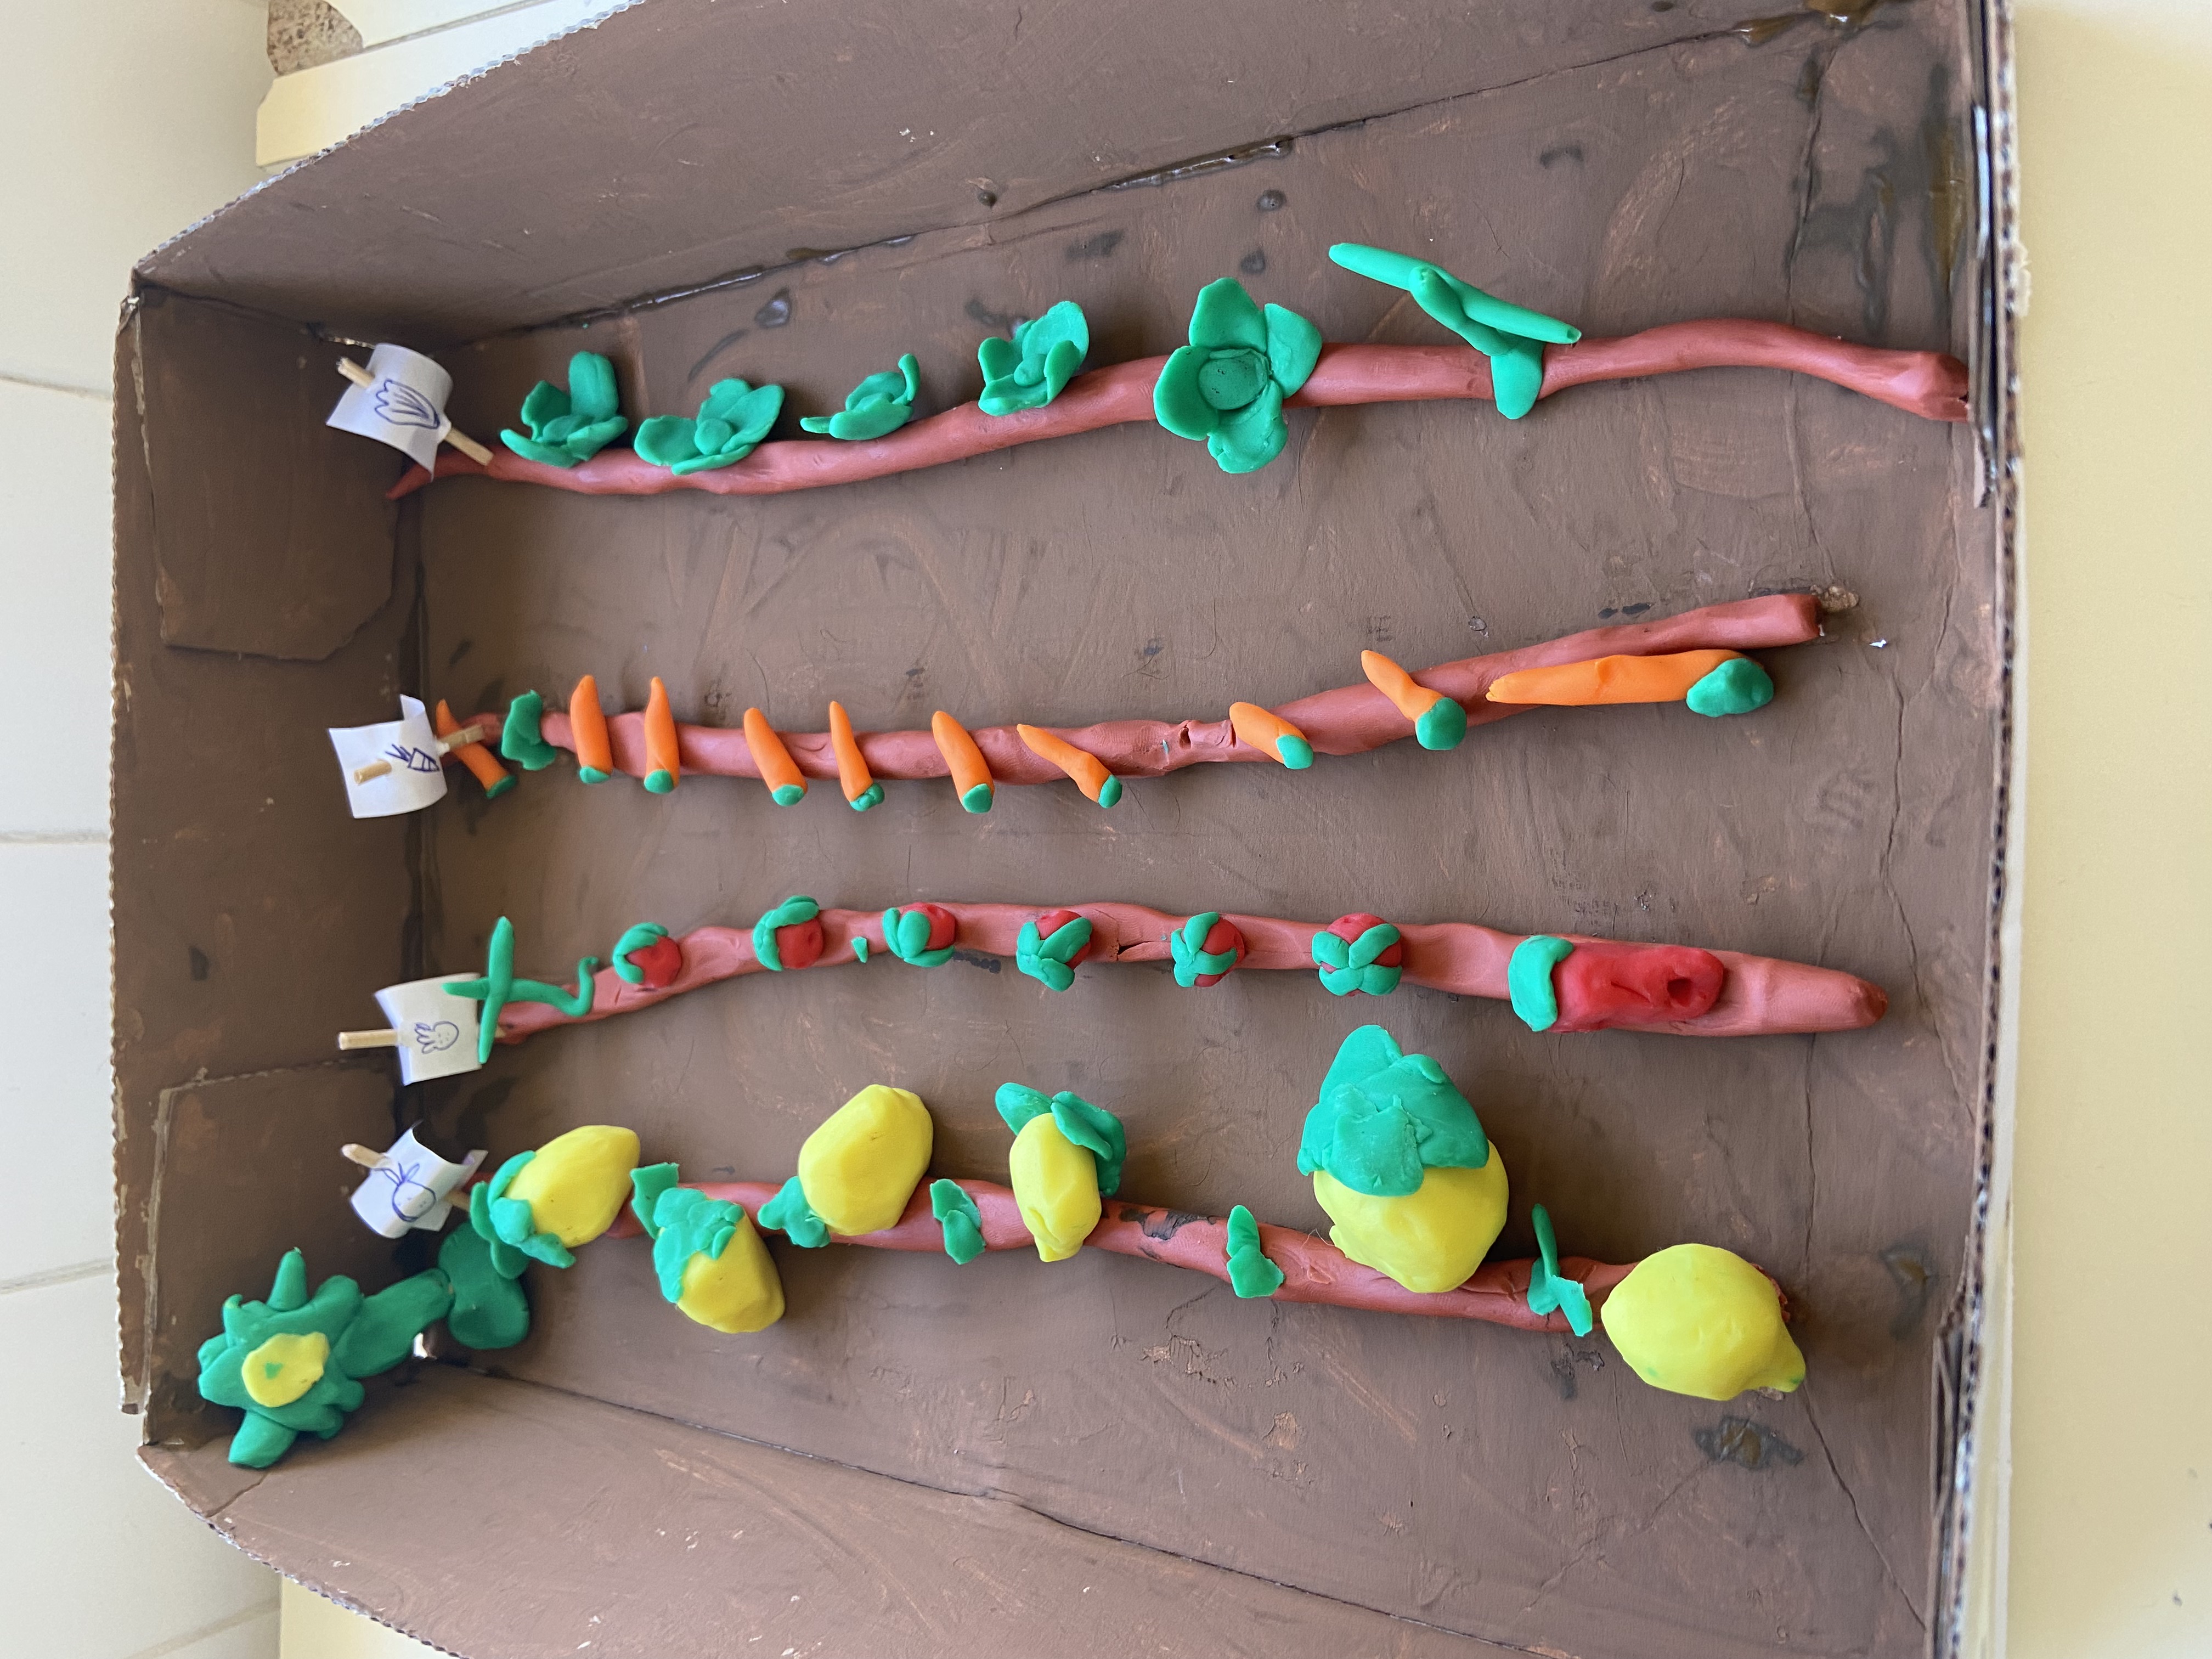
Use the playdough to create the fruits and vegetables you want. Here you have an example.

Include the fruits and vegetables in the vegetable garden.

Complete the ‘Vegetable garden card’.
Now, get the sheet and complete it.

Click here to print or download the document: "My vegetable garden card"

Now in pairs, you have to present the vegetable garden.
Use the vegetable garden card to help you (step 6).
Remember:
- Student 1 and 2: this is my vegetable garden.
- Student 1: I like…. I don’t like…
- Student 2: I like…. I don’t like…
- Student 1: My favourite are…
- Student 2: My favourite are…
- Student 1 and 2: bye bye.
Watch this video to help you.
 Work in pairs.
 Show your vegetable garden.
 Follow the instructions:
 Watch this video.
Wow! what a great job you did!
Share it in the school blog
Everyone will see it!
In this last step, I am going to ask you to think about what has been the most important thing you have learnt in order to achieve the challenge.
What you discover by thinking, will help you when you have to meet similar challenges in the future.
Stop for a moment and complete STEP 4 of your Learning Journal! (What have I learned?)
Remember:
Cheer up, you'll do great!
En este último paso te voy a proponer que pienses en qué ha sido lo más importante de todo lo que has aprendido para conseguir el reto que te proponíamos.
Lo que descubras pensando en ello te servirá para cuando tengas que alcanzar retos parecidos en un futuro.
¡Para un momento y completa el PASO 4 de tu Diario de aprendizaje! (¿Qué he aprendido?)
Recuerda:
¡Ánimo, que lo harás genial!

Choose one of the three characters in each case and colour it.
Evaluate your work in pairs.
Licensed under the Creative Commons Attribution Non-commercial Share Alike License 4.0