Dictionary
Clock
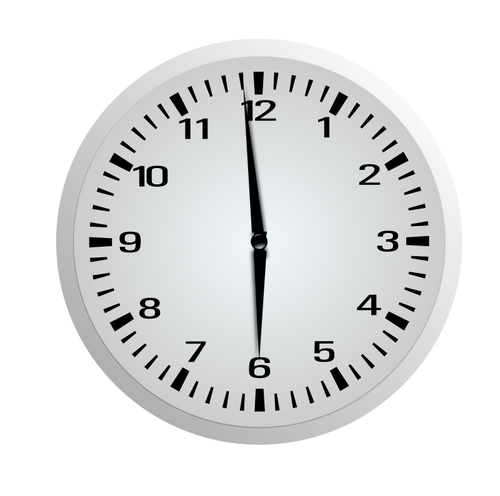
- Example:
-
My granny has a new clock.
Mi abuela tiene un reloj nuevo.
- Spanish word:
-
Reloj
- Audio:
Tower
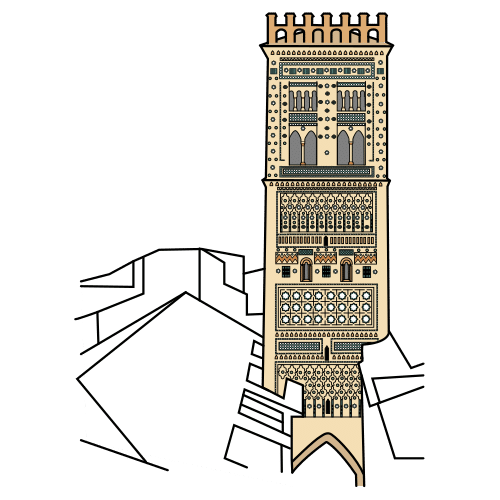
- Example:
-
The castle has a big tower.
El castillo tiene una gran torre.
- Spanish word:
-
Torre
- Audio:

My granny has a new clock.
Mi abuela tiene un reloj nuevo.
Reloj

The castle has a big tower.
El castillo tiene una gran torre.
Torre

Hello!
Look what I found:
It is so tall!
It is the Big Ben, a tower with a famous clock.

A tall, narrow building, often square or circular.
Edificio alto y estrecho, a menudo cuadrado o circular.
The castle has a big tower.
El castillo tiene una gran torre.

An object used for measuring and showing the time.
Un objeto que se usa para medir y mostrar la hora.
My granny has a new clock.
Mi abuela tiene un reloj nuevo.
 Hello.
 Look.
Look.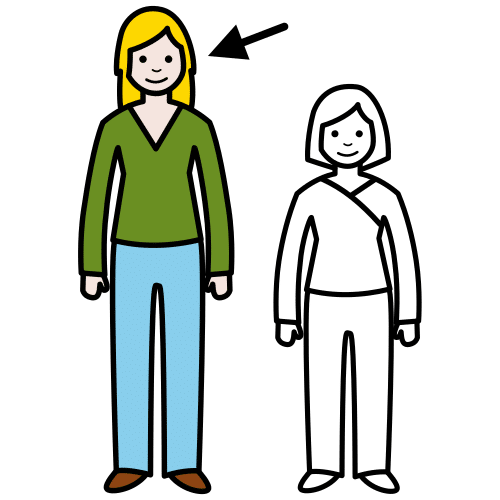 It is so tall!
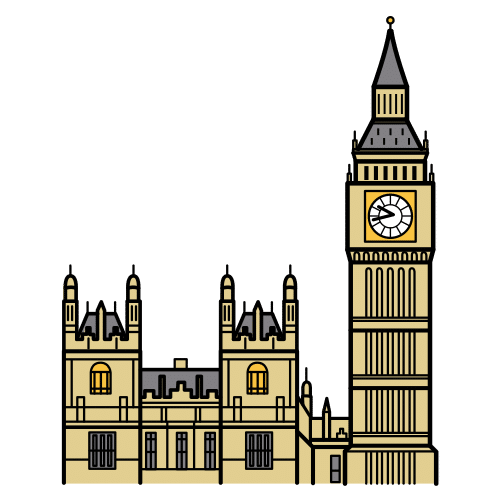 It is the Big Ben.
 Big Ben is a tower with a famous clock.
 Big Ben has a famous clock.
It’s time to help me!
You know a lot about places and directions.
Let’s make your own map in pairs.
This is what you have to do:
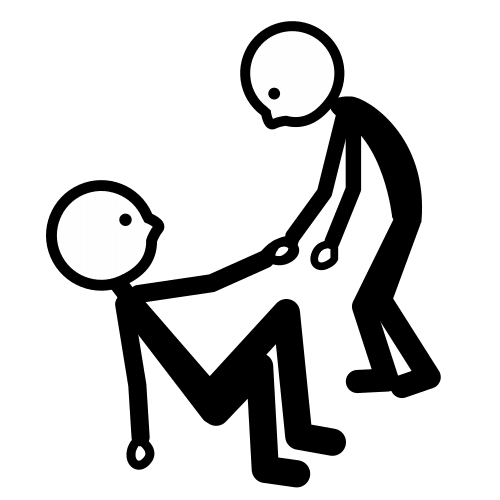 Help me!
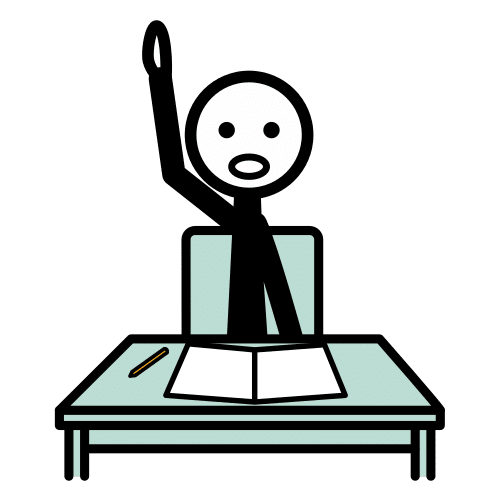 You know a lot about places and directions.
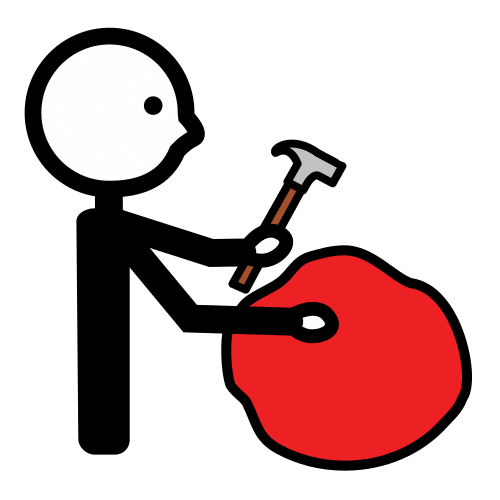 Let’s make your own map.
 Follow the instructions:
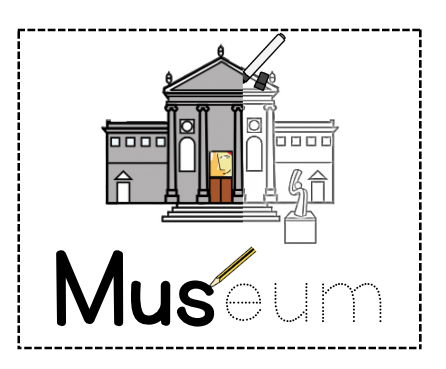
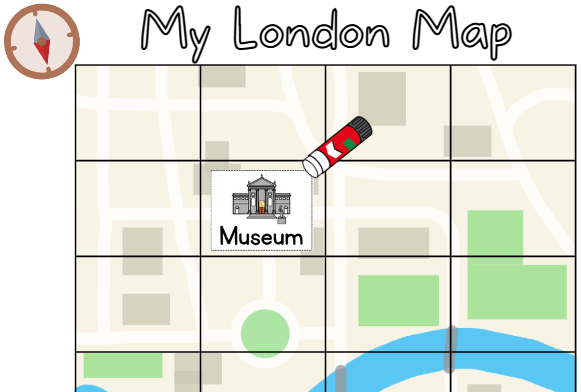
Colour and write the name of the places.
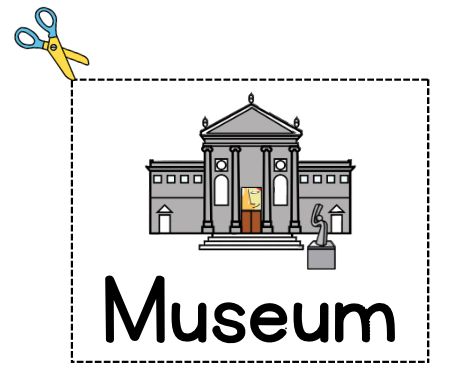
Cut the places, Retor and the “start” piece.
Glue the places wherever you want in your map.
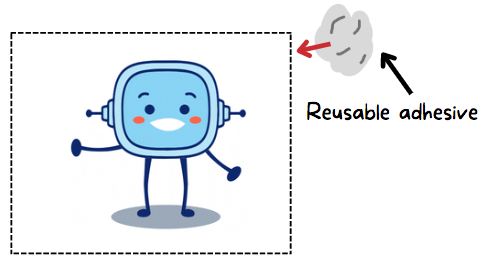
Stick a reusable adhesive in the back of Retor and the start piece.
Customize your map.
To reach a goal, you need to be strategic. That is to say, to have methods, techniques, "tricks" to get to where you want to be sooner or easier. Now I'm going to teach you a strategy, take advantage of it to reach your challenge!
The strategy is “I build my information””. With the following idevice you will be able to learn it. To do it, click here.
I am sure you'll do great!.
Para llegar a una meta, es conveniente que seas un buen o buena estratega. Es decir, tener métodos, técnicas, “trucos” para llegar antes o de forma más fácil donde tú quieres. Ahora te voy a enseñar una estrategia, ¡Aprovéchala para alcanzar tu reto!
La estrategia se llama “Construyo mi información”. Con el siguiente idevice podrás aprenderlo. Para conseguirlo pincha aquí.
¡Ánimo, que lo harás genial!
 Now, I’m going to show you how to present the map!
Take your map, and be ready with your partner!
 I show you how to present the map!
 Follow the instructions:
Student 1 says where Retor is.
Example: Rétor is in the museum.
Student 2 sets Rétor on the map.
Now, Student 1 asks about any place he wants to.
Example: Where is the bridge?
Student 2 moves Rétor from the museum to the bridge.
Example: Rétor is in the museum, moves to the right one step and moves down. Rétor finishes at the bridge.
Student 2 (at destination) says what is around.
Example: The bridge is near the tower.
Change your roles!
In this last step, I am going to ask you to think about what has been the most important thing you have learnt in order to achieve the challenge.
What you discover by thinking, will help you when you have to meet similar challenges in the future.
Stop for a moment and complete STEP 4 of your Learning Journal! (What have I learned?)
Remember:
Cheer up, you'll do great!
En este último paso te voy a proponer que pienses en qué ha sido lo más importante de todo lo que has aprendido para conseguir el reto que te proponíamos.
Lo que descubras pensando en ello te servirá para cuando tengas que alcanzar retos parecidos en un futuro.
¡Para un momento y completa el PASO 4 de tu Diario de aprendizaje! (¿Qué he aprendido?)
Recuerda:
¡Ánimo, que lo harás genial!
 Choose one of the three characters in each case and colour it.
Evaluate your work in pairs.
Licensed under the Creative Commons Attribution Non-commercial Share Alike License 4.0